English Walnut Newel Posts.
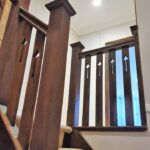
My client, Yacob, is an exceptionally skilled carpenter who crafts stunning staircases for a living. His creations range from straightforward, everyday designs to intricate, ornate masterpieces with twists, turns, and elaborate handrails. While Yacob’s talents shine in woodworking, he leaves the woodturning to me. Whenever he needs custom newel posts and spindles—those that can’t be found off the shelf—he commissions me to create them.
Yacob arrives at my workshop with well-worn stair components and asks me to make replacements. He brings along the timber, often in generous, oversized pieces, leaving me with valuable offcuts. And as a bonus, he also brings me additional offcuts—perfect for a turner like me, though they might be of no use to a carpenter. It’s a rewarding collaboration, with each of us bringing our unique skills to the job.
This particular job was a set of four custom newel posts: one at 5 inches square and the other three at 4 inches, all crafted from luxurious English Walnut. With such an expensive material, I knew there was no room for error—one slip, and I’d be working for free. The stakes were high, but the beauty of that rich, dark walnut grain made every careful cut and turn worth the extra attention.
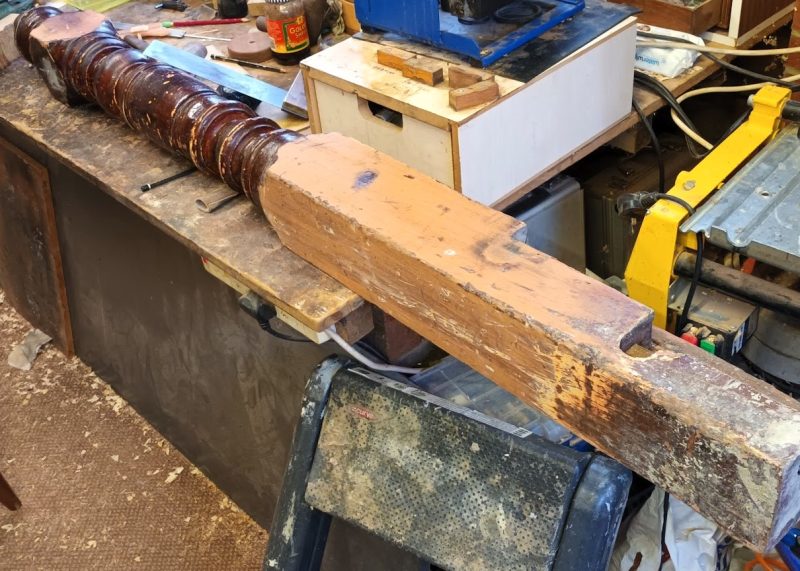
Here’s the 5-inch post I was tasked with replicating. Fortunately, I didn’t need to shape the square base section, as the new post was designed to be a pegged type. This meant the square portion at the bottom was already in place, so my job was to create a precise 50mm round tenon that would securely attach it to the base.
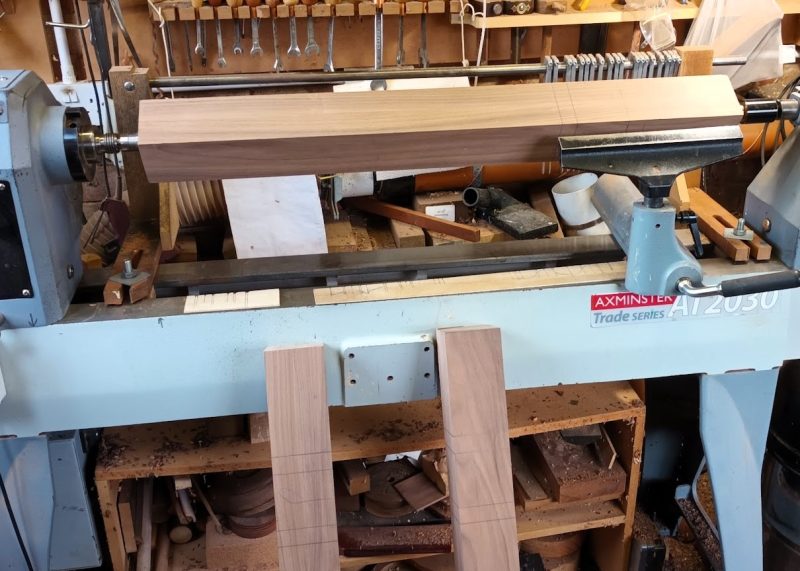
The first blank is mounted on the lathe, and I’ve got the storyboards ready. These storyboards, which you can see resting on the lathe bed, are timber strips with the newel’s pattern carefully marked along their length. Each mark has a tiny V-cut, perfectly positioned to guide my pencil when I hold the storyboard against the revolving blank. This setup allows me to transfer the design precisely, ensuring every detail of the pattern is faithfully replicated.
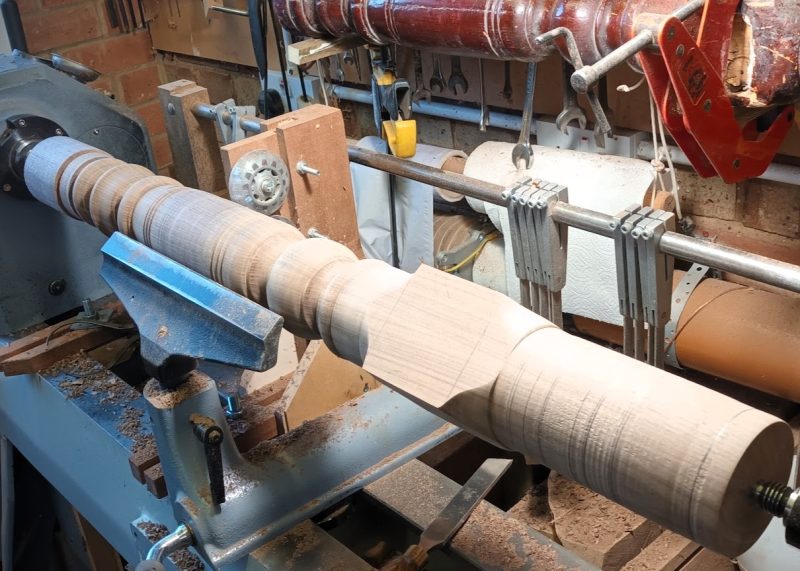
The pommels have been cut, and the shapes are now fully formed. All that’s left is to turn the tenon and finish off with the acorn finial. The hard part is done, and now it’s down to those final details that will really bring the post to life.
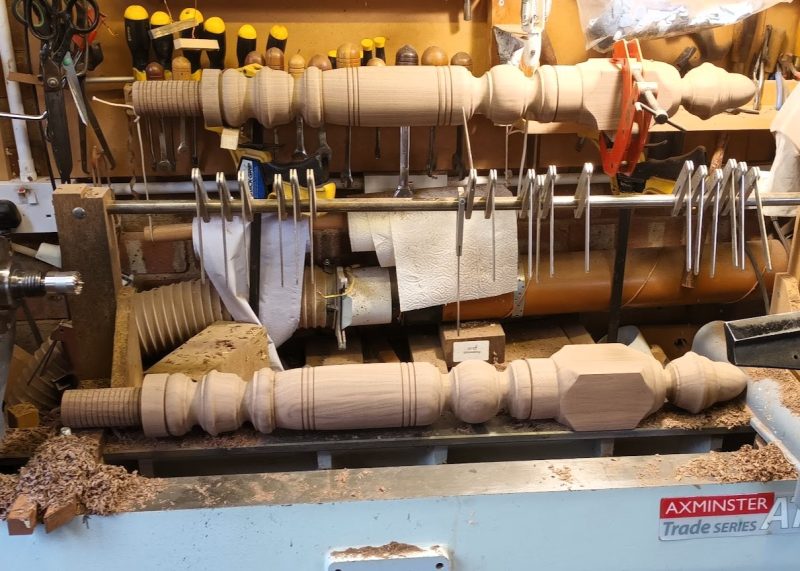
Once the first post is cut, it serves as the template for setting the copy fingers, which you can see at the back of the lathe bed. These fingers are adjusted to match the various diameters of the finished piece. They rest on the revolving post and drop down when the desired diameter is reached, ensuring a perfect match every time. After the shaping is complete, I give it a thorough sanding. I find it’s much easier to sand while the work is turning, saving the carpenter from the extra effort of hand sanding. This way, the post is ready to go with a smooth, polished finish.
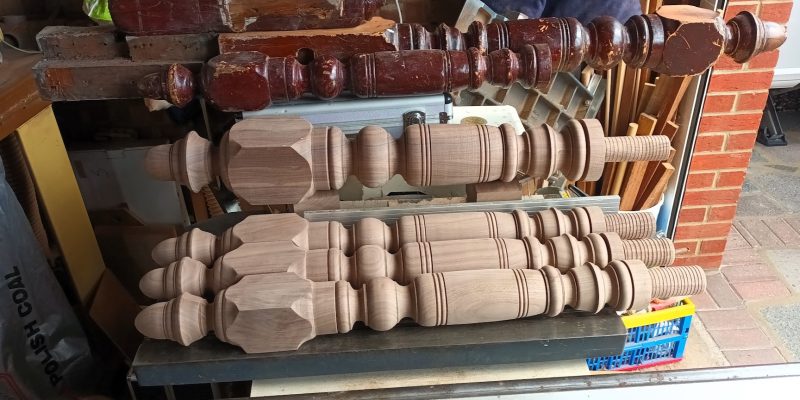
All complete and ready for collection. Hopefully Yacob will send me some pictures of the completed job for me to show you.
